2008 Oct 21 blog post by Mark Tyler
Brush Spacing In Non-Continuous Mode
(link to original post)
Keywords:
Brush Pasting, Brush Spacing, Continuous Mode,
Multiple Image Clipboard, Opacity Mode, Settings Toolbar
Some of the images below have a larger version.
Click on the image to see the larger version.
Click on your web browser's Back button to return to this page.
The following are Mark Tyler's words:
As explained in section 3.5.1 of the mtPaint handbook, it is possible to paint on the canvas in continuous or non-continuous mode so that brush points are either joined together or spaced apart.
Normally continuous mode is preferable for sketching and painting, but non-continuous mode allows some interesting effects to be achieved.
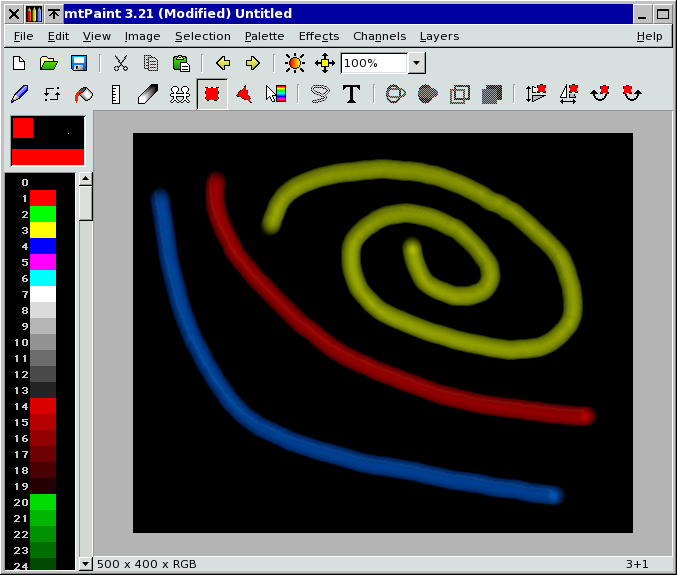
For this example I shall be painting with non-continuous mode and with opacity mode switched off, so I press F7 to display the settings toolbar and then adjust as follows:

I then right click on the continuous mode icon to set the brush spacing:
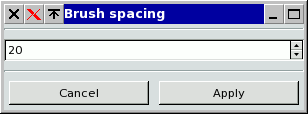
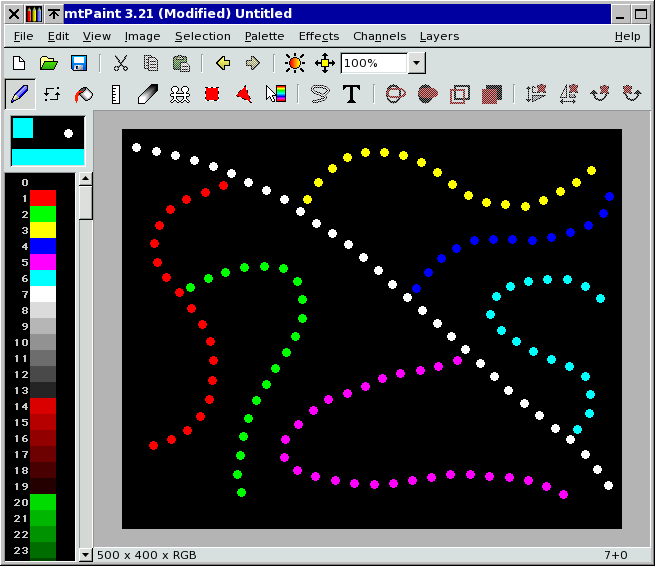
Now I can select a brush and colour of my choice and paint on the canvas with equal spaces between each of the brush marks on the canvas:
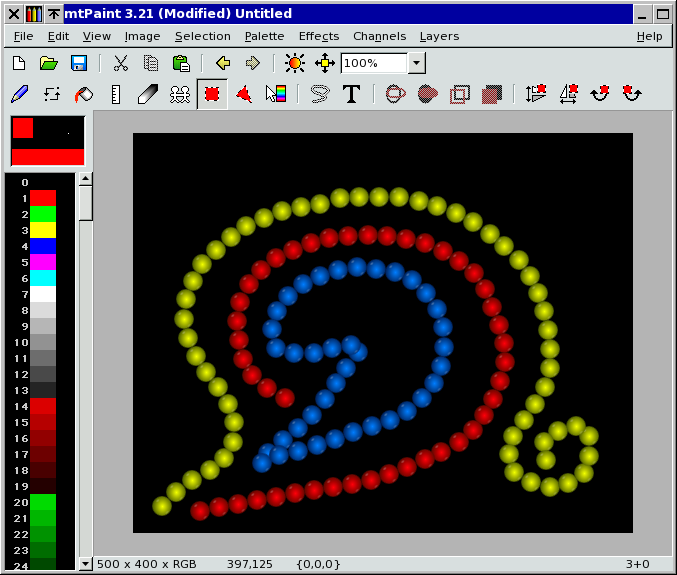
Brush spacing also works well for pasting so I created this by dragging and pasting a piece of clip art:
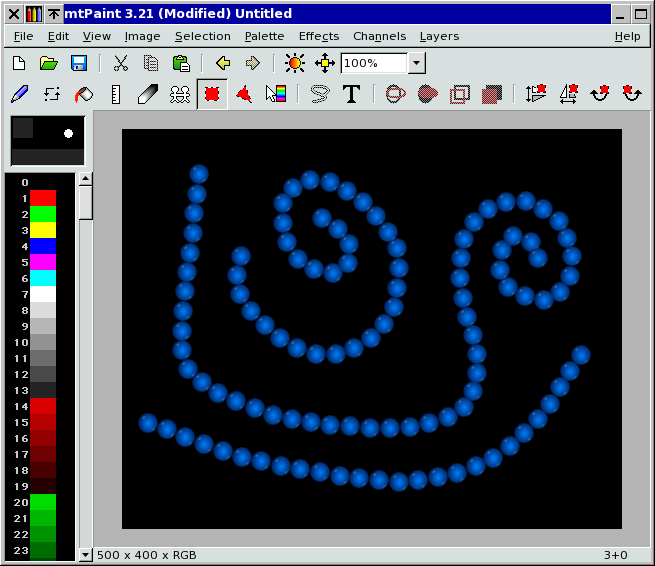
The clip art I used was this:

To get this clip art as a paste I needed to start another instance of mtPaint, load the blue orb, press Ctrl+A to select the image, and then Ctrl+F9 to save this as image 9 in the multiple image clipboard. I can then load this clipboard into the first instance of mtPaint by pressing Shift+F9 and start pasting with it.
wjaguar added a comment on 2008 Oct 22 on the subject of ...
"To get this clip art as a paste I needed to start another instance of mtPaint..."
Far easier is to load the clip art image with "Undoable" toggle set, copy it to clipboard, and then just undo the load operation to return to the original image.
While you have 2 instances of mtPaint running, there is another trick you can try. If you change the hue of the blue orb (press the "Insert" key to display the transform image dialog) you can change the orb's colour:

By using the multiple image clipboard you can then easily switch between colours for pasting with say Shift+F7, Shift+F8 and Shift+F9:
Another trick to try is where you set opacity to 40 and then brush spacing to 1 which creates these effects: